A LAN, or a local area network, is a bit like the internet only a lot, lot smaller. That is, it only consists of a few devices that are all connected to each other. You may want a LAN so you can share files, send pictures and music to other computers, connect to a printer easily, or have a good old fashioned LAN party to play games with some pals.
Either way, here's a quick guide to setting up a simple one in your home for the networking novice.
1. Gather your equipment
To set up a LAN, you will need:
- A network switch - or a router
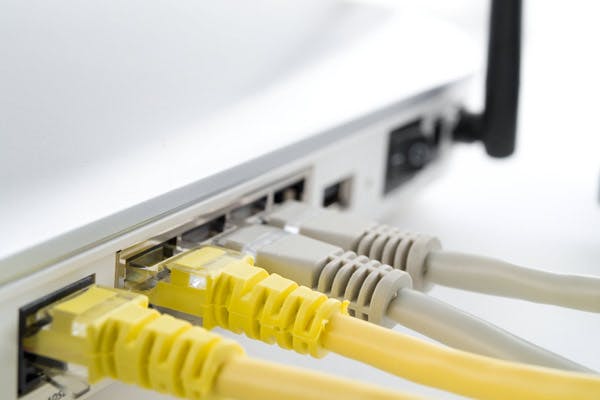
- An ethernet cable, plus extra ones for every device you want to connect via cable
- A computer
- All the rest of your devices
If you want your LAN to connect to the internet, you'll also need:
- A broadband connection
- Arouter
- A modem (if there isn't one built in to your router)
Start by plugging in your network switch or router and switching it on.
2. Connect the first computer
Brand new network switch or router? The first thing you need to do is set it up. Do this by connecting it to a computer via an ethernet cable.
On a Windows PC:Using a network switch or router for the first time should bring up the 'Set up a network' wizard - an easy and simple way of getting things set up automatically. If it doesn't appear, or if you've already used this router, go to the Network and Sharing Centre (in the control panel or under the settings) and select 'Set up a new connection or network'. You'll then be taken through the steps.
On a Mac: Go to System Preferences, then Network, Built-In Ethernet, Advanced. This is where you'll find all the settings you need to set up a new network.
3. Set up your Wi-Fi
If you want devices connected to your network wirelessly - the best choice for smartphones, tablets, streaming sticks, and so on - you'll need to set upWi-Fi(of course, if you only want computers to connect to the LAN via ethernet cable, go ahead and skip this step). Your router or network switch's manual will tell you how to enable Wi-Fi on it, so follow those instructions. But remember to make sure your Wi-Fi is as secure as it can be.
Your router or network switch will provide you with a default SSID (the name of your network), Wi-Fi password, and login info. To keep things secure, it's best to change all of these. Log on to your router using the router login info - depending on your router and your provider, you'll either need to do this via a web browser on your computer, or by going through the network settings as above.
- Change the SSID to a custom name to differentiate it from your neighbours' networks
- Change the Wi-Fi password to something unique, preferably including lower case letters, upper case letters, numbers, and symbols
- Change the router login password to something unique too - different from the Wi-Fi password, of course
- Pick the most advanced security tech - currently WPA2.
You may need to restart your computer to see the changes take effect.
4. Connect to the internet
The idea of a LAN is to connect different devices to each other - but if you want it to have internet access too, now's when you need to set it up.
If you already have a working router and broadband connection, you should just be able to plug in and go.
If you're setting up a new router and/or internet connection, on the other hand, you'll need to follow the instructions given to you by your broadband provider or router manufacturer.
Either way, you'll need to plug your router and modem into your home's main phone line, using the router's WAN port.
5. Connect the rest of your devices
Whether you're connecting your gadgets to the LAN via Wi-Fi or ethernet cable, the time has come to get it all hooked up. This includes other computers, laptops,smartphones, tablets,TVset top boxes, games consoles,streaming sticks - anything that might need to get online.
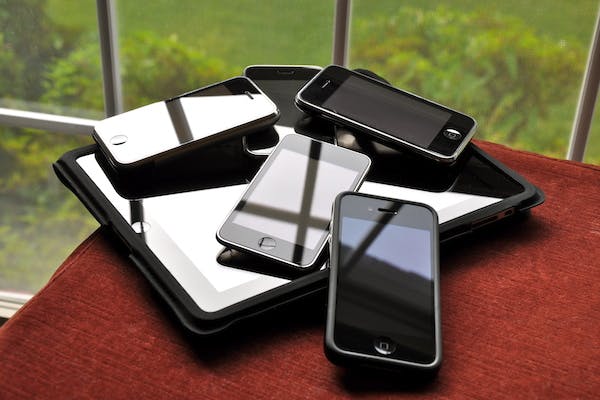
To connect via Wi-Fi, turn on Wi-Fi on your device, and select your home network from the list. It should be pretty recognisable, because you changed the SSID to a custom name, right? You'll then be prompted to enter your new secure password.
Connecting with an ethernet cable is far simpler - just plug one end into your network switch or router and the other into your device.
Other things you may want to connect include printers, scanners, speakers, and storage devices. By connecting them directly to the router - again, either by ethernet cable or Wi-Fi - you'll be able to access them from any device on your network.
In fact, some things can connect to each other automatically simply by being part of the same Wi-Fi network. This includes the Chromecast or anything with Apple's AirPlay, for instance.
To add a network printer, go to 'Devices and printers', click 'Add a printer', then follow the on-screen instructions.
6. Get sharing
One of the beauties of a LAN is that you can share resources across it, such as devices, files, and media. With Windows PCs, this is super easy to set up by creating a 'Homegroup'.
Go to Control Panel, then Network and Internet, then Homegroup, and select 'Create a homegroup'. Windows will take you through the homegroup setup wizard and give you a password that other devices will need in order to connect to it. This is also where you can establish individual user accounts on your new LAN.

Part of setting up your homegroup involves picking what kinds of files you want to be able to share, but there are plenty of ways to share things in a LAN:
- Right-click on a file or folder, select 'Share with…', and choose who to share it with.
- Or, select it in File Explorer, and go to the 'Share' tab.
- Move files into Public folders - like Public Music, or Public Pictures - and turn on Public Folder Sharing (under the advanced sharing settings in the Network and Sharing Center).
- On a Mac, go to System preferences, then Sharing preferences, and tick the 'File Sharing' checkbox. Click 'Add' to put files in your Public folder for sharing.
- Attach a storage device - like a hard drive - to the USB port of your network switch or router, and set it to be shared with the whole network (under 'file sharing' or similar on your router's settings).
- Enable LAN sync (under the General settings in the Preferences) on your Dropbox account, and give other users on your network access to the relevant folders. This basically works the same as the usual internet-based syncing on Dropbox, but it's a heck of a lot more efficient.
